SORTING THE REAR SUSPENSION AND SEAT
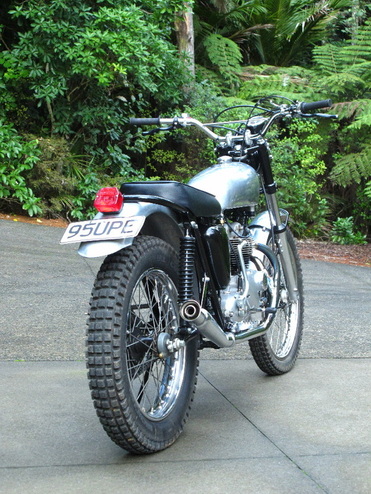 Suspension travel is now greater than stock but overall seat height is not.
Once I had established the new position of my foot pegs the next job was to tackle the myriad of details still to be finalised. As often happens on projects of this nature I was finding that one change quickly led to another and the knock on effect becomes cumulative.
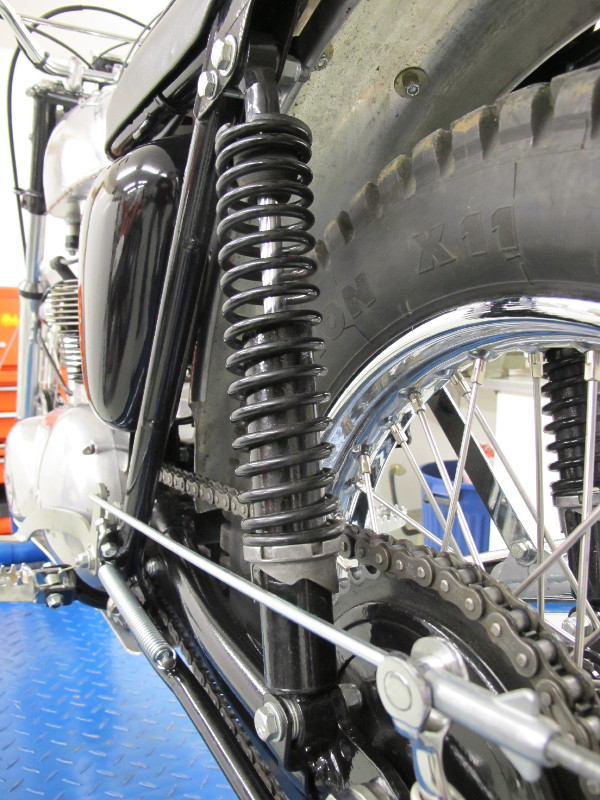
One example was the rear shock absorbers. I had saved a rather nice set of re-buildable Koni competition shocks for the project. The Konis offered more and better quality travel than the ancient stock Girlings, but were 30mm longer overall with the same amount of additional travel. This increase wasn’t going to be a problem in terms of geometry as the Honda SL350 forks were also correspondingly longer, so balance would be maintained. One of the few advantages old dirt bikes have on their modern counterparts are relative lowness to the ground, enabling even a shorter rider like me to get both feet flat on the ground. However when I mocked up the stock triumph seat I found that the overall seat height now felt too tall.
One example was the rear shock absorbers. I had saved a rather nice set of re-buildable Koni competition shocks for the project. The Konis offered more and better quality travel than the ancient stock Girlings, but were 30mm longer overall with the same amount of additional travel. This increase wasn’t going to be a problem in terms of geometry as the Honda SL350 forks were also correspondingly longer, so balance would be maintained. One of the few advantages old dirt bikes have on their modern counterparts are relative lowness to the ground, enabling even a shorter rider like me to get both feet flat on the ground. However when I mocked up the stock triumph seat I found that the overall seat height now felt too tall.
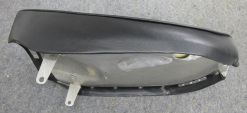 Seat base was formed from a single sheet of alloy.
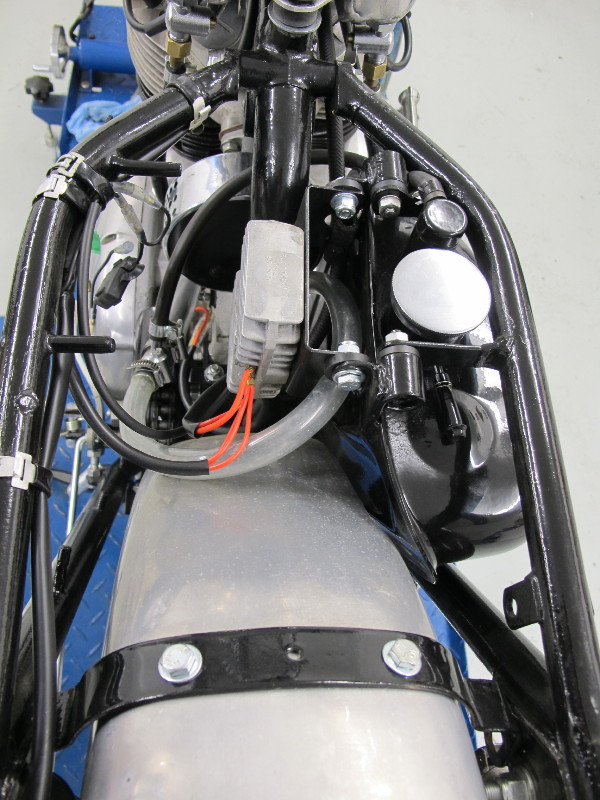
All was not lost however because a quick check under the seat revealed the Triumph seat base was mounted at least 30 mm above the frame rails in order to clear the battery box and oil tank froth tower and filler. I could instantly see that because of the clumsy way the Triumph seat pan was made and mounted a new fabricated seat base could be made to drop fit directly onto the frame rails and achieve stock height, but still take advantage of the extra suspension travel. Of course the dreaded knock on effect again meant I would have to lower the oil tank to lower the seat…however the battery box was no problem as it was my intention to do away with the big Triumph battery and fit a far smaller battery inside the tool compartment space in the left sidecover.
Decision made I looked around for someone who could make a new seat base. In almost every corner of the country you can find specialist craftsmen and in my case it I found a custom car fabricator, Lawrence Baker, working nearby who had all the skills required. In barely more than an hour Lawrence beat and bent a flat sheet of alloy into a three dimensional seat base, complete with valanced edges and the increased hump required to accommodate the increased rear mudguard arch that the lowered seat required.
Decision made I looked around for someone who could make a new seat base. In almost every corner of the country you can find specialist craftsmen and in my case it I found a custom car fabricator, Lawrence Baker, working nearby who had all the skills required. In barely more than an hour Lawrence beat and bent a flat sheet of alloy into a three dimensional seat base, complete with valanced edges and the increased hump required to accommodate the increased rear mudguard arch that the lowered seat required.
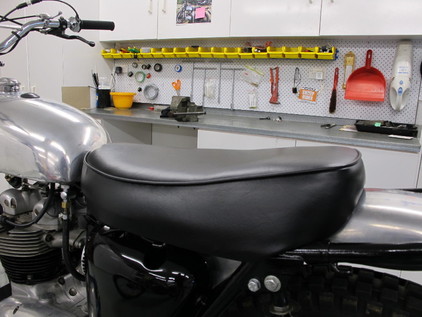 I think the lowered seat really looks the business.
The new seat base was essentially the same outline as the stock seat but made shorter at the rear and profiled in a gentle curve in solo off road style. British Spares supplied a new seat foam in modern material and this was shortened and shaped to the new solo dimensions and profiled to match the more accentuated wheel arch.
When it came to a seat cover once again a local artisan showed his skills. Joel from Traditional Upholstery made the seat cover. Simply by eye-balling my old magazine photo of an ISDT Triumph Joel boldly cut the seat material freehand and the seat took shape. Almost unbelievably to me very few alterations were needed to achieve what I believe is a very credible period look. Once again I was impressed with the skill and experience of my local West Auckland craftsmen.
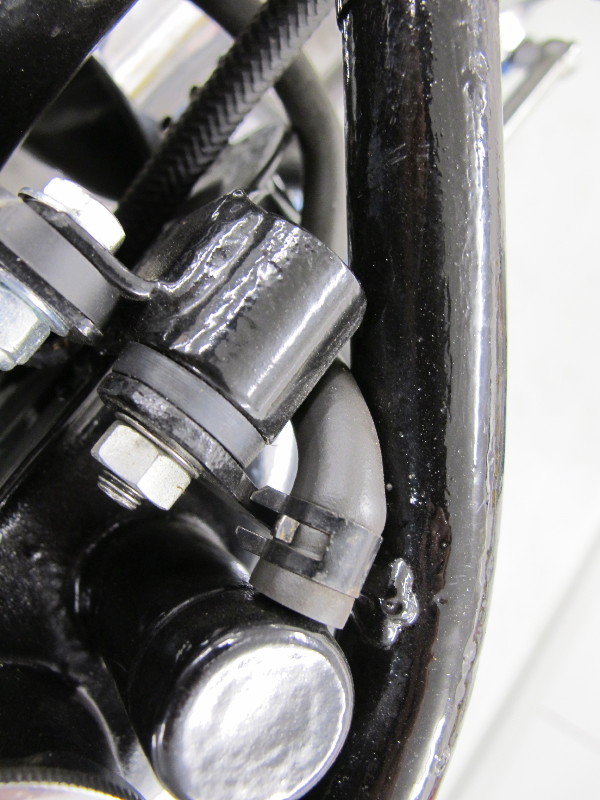
Lowering the oil tank to fit was simply a matter of removing and re-welding the top tank mounts and drilling new mounting holes in the lower tank bracket which the factory had fortuitously made plenty long enough to do so. In the lower position it was necessary to change the angle of the oil tank vent tube by gentle heating and bending. It was also about now that the real down side of my new bolt on seat base became apparent, it would be necessary to remove the two mounting bolts to check the oil level and return feed. The challenge of designing and making a new hinged seat system has been put on the back burner for now. Knock on effect strikes again!
